Menu

Results for category "Monitoring"

6 Articles

OpenShift Supervision

Today I am looking back on a few topics I had a hard time properly deploying using OpenShift 3.7 and missing proper dynamic provisioning despite a poorly-configured GlusterFS cluster.
Since then, I deployed a 3 nodes Ceph cluster, using Sebastien Han’s ceph-ansible playbooks, allowing me to further experiment with persistent volumes.
And OpenShift Origin 3.9 also came out, shipping with various fixes and new features, such Gluster Block volumes support, that might address some of GlusterFS performances issues.


OpenShift Ansible playbooks include a set of roles focused on collecting and making sense out of your cluster metrics, starting with Hawkular.

We could set up a few Pods running Hawkular, Heapster to collect data from your OpenShift nodes and a Cassandra database to store them, defining the following variables and applying the playbooks/openshift-metrics/config.yml playbook:

Hawkular

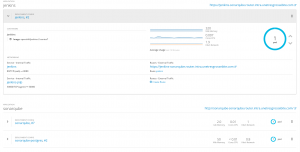
Hawkular integration with OpenShift

openshift_metrics_cassandra_limit_cpu: 3000m
openshift_metrics_cassandra_limit_memory: 3Gi
openshift_metrics_cassandra_node_selector: {“region”:”infra”}
openshift_metrics_cassandra_pvc_prefix: hawkular-metrics
openshift_metrics_cassandra_pvc_size: 40G
openshift_metrics_cassandra_request_cpu: 2000m
openshift_metrics_cassandra_request_memory: 2Gi
openshift_metrics_cassandra_storage_type: pv
openshift_metrics_cassandra_pvc_storage_class_name: ceph-storage
openshift_metrics_cassanda_pvc_storage_class_name: ceph-storage

openshift_metrics_image_version: v3.9
openshift_metrics_install_metrics: True
openshift_metrics_duration: 14
openshift_metrics_hawkular_limits_cpu: 3000m
openshift_metrics_hawkular_limits_memory: 3Gi
openshift_metrics_hawkular_node_selector: {“region”:”infra”}
openshift_metrics_hawkular_requests_cpu: 2000m
openshift_metrics_hawkular_requests_memory: 2Gi
openshift_metrics_heapster_limits_cpu: 3000m
openshift_metrics_heapster_limits_memory: 3Gi
openshift_metrics_heapster_node_selector: {“region”:”infra”}
openshift_metrics_heapster_requests_cpu: 2000m
openshift_metrics_heapster_requests_memory: 2Gi

Note that we are defining both openshift_metrics_cassandra_pvc_storage_class_name and openshit_metrics_cassanda_pvc_storage_class_name due to a typo that was recently fixed, yet not in OpenShift Origin last packages.

Setting up those metrics may allow you to create Nagios commands based on querying for resources allocations and consumptions, using:

$ oc adm top node –heapster-namespacce=openshift-infra –heapster-scheme=https node.example.com


Another solution that integrates well with OpenShift is Prometheus, that could be deployed using the playbooks/openshift-prometheus/config.yml playbook and those Ansible variables:

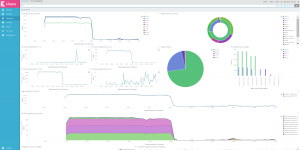
Prometheus

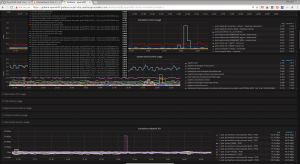
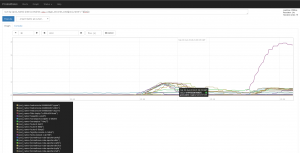
Prometheus showing OpenShift Pods CPU usages

openshift_prometheus_alertbuffer_pvc_size: 20Gi
openshift_prometheus_alertbuffer_storage_class: ceph-storage
openshift_prometheus_alertbuffer_storage_type: pvc
openshift_prometheus_alertmanager_pvc_size: 20Gi
openshift_prometheus_alertmanager_storage_class: ceph-storage
openshift_prometheus_alertmanager_storage_type: pvc
openshift_prometheus_namespace: openshift-metrics
openshift_prometheus_node_selector: {“region”:”infra”}
openshift_prometheus_pvc_size: 20Gi
openshift_prometheus_state: present
openshift_prometheus_storage_class: ceph-storage
openshift_prometheus_storage_type: pvc


We could also deploy some Grafana, that could include a pre-configured dashboard, rendering some Prometheus metrics – thanks to the playbooks/openshift-grafana/config.yml playbook and the following Ansible variables:

Grafana

OpenShift Dashboard on Grafana

openshift_grafana_datasource_name: prometheus
openshift_grafana_graph_granularity: 2m
openshift_grafana_namespace: openshift-grafana
openshift_grafana_node_exporter: True
openshift_grafana_node_selector: {“region”:”infra”}
openshift_grafana_prometheus_namespace: openshift-metrics
openshift_grafana_prometheus_serviceaccount: prometheus
openshift_grafana_storage_class: ceph-storage
openshift_grafana_storage_type: pvc
openshift_grafana_storage_volume_size: 15Gi


And finally, we could also deploy logs centralization with the playbooks/openshift-logging/config.yml playbook, setting the following:

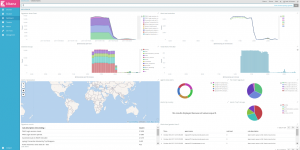
Kibana

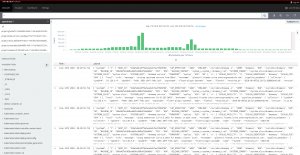
Kibana integration with EFK

openshift_logging_install_logging: True
openshift_logging_curator_default_days: ‘7’
openshift_logging_curator_cpu_request: 100m
openshift_logging_curator_memory_limit: 256Mi
openshift_logging_curator_nodeselector: {“region”:”infra”}
openshift_logging_elasticsearch_storage_type: pvc
openshift_logging_es_cluster_size: ‘1’
openshift_logging_es_cpu_request: ‘1’
openshift_logging_es_memory_limit: 8Gi
openshift_logging_es_pvc_storage_class_name: ceph-storage
openshift_logging_es_pvc_dynamic: True
openshift_logging_es_pvc_size: 25Gi
openshift_logging_es_recover_after_time: 10m
openshift_logging_es_nodeslector: {“region”:”infra”}
openshift_logging_es_number_of_shards: ‘1’
openshift_logging_es_number_of_replicas: ‘0’
openshift_logging_fluentd_buffer_queue_limit: 1024
openshift_logging_fluentd_buffer_size_limit: 1m
openshift_logging_fluentd_cpu_request: 100m
openshift_logging_fluentd_file_buffer_limit: 256Mi
openshift_logging_fluentd_memory_limit: 512Mi
openshift_logging_fluentd_nodeselector: {“region”:”infra”}
openshift_logging_fluentd_replica_count: 2
openshift_logging_kibana_cpu_request: 600m
openshift_logging_kibana_hostname: kibana.router.intra.unetresgrossebite.com
openshift_logging_kibana_memory_limit: 736Mi
openshift_logging_kibana_proxy_cpu_request: 200m
openshift_logging_kibana_proxy_memory_limit: 256Mi
openshift_logging_kibana_replica_count: 2
openshift_logging_kibana_nodeselector: {“region”:”infra”}


Meanwhile we could note that cri-o is getting better support in the latter versions of OpenShift, among a never-ending list of ongoing works and upcoming features.
Wazuh

As a follow-up to our previous OSSEC post, and to complete the one on Fail2ban & ELK, we’ll review today Wazuh.

netstat alerts

netstat alerts

As their documentation states it, “Wazuh is a security detection, visibility, and compliance open source project. It was born as a fork of OSSEC HIDS, later was integrated with Elastic Stack and OpenSCAP evolving into a more comprehensive solution“. We could remark that OSSEC packages used to be distributed on some Wazuh repository, while Wazuh is still listed as OSSEC official training, deployment and assistance services provider. You might still want to clean up some defaults, as you would soon end up receiving notifications for any connection being established or closed …

OSSEC is still maintained, last commit to their GitHub project was a couple days ago as of writing this post, while other commits are being pushed to Wazuh repository. If both products are still active, my last attempts configuring Kibana integration with OSSEC was a failure, due to Kibana5 not being supported. Considering Wazuh offers enterprise support, we could assume their sample configuration & ruleset are at least as relevant as those you’ld find with OSSEC.

wazuh manager status

wazuh manager status

Wazuh documentation is pretty straight-forward, a new service wazuh-api (NodeJS) would be required on your managers, which would then be used by Kibana querying Wazuh status. Debian packages were renamed from ossec-hids & ossec-hids-agent to wazuh-manager & wazuh-agent respectively. Configuration is somewhat similar, although you won’t be able to re-use those you could have installed alongside OSSEC. Note the wazuh-agent package would install an empty key file: you would need to drop it, prior to registering against your manager.


wazuh-agents

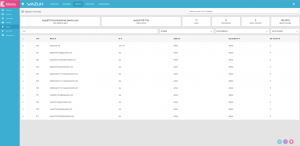
wazuh agents

Configuring Kibana integration, note Wazuh documentation misses some important detail, as reported on GitHub. That’s the single surprise I had reading through their documentation, the rest of their instructions work as expected: having installed and started wazuh-api service on your manager, then installed Kibana wazuh plugin on your all your Kibana instances, you would find some Wazuh menu showing on the left. Make sure your wazuh-alerts index is registered in the Management section, then go to Wazuh.

If uninitialized, you would be offered to enter your Wazuh backend URL, a port, a username and corresponding password, connecting to wazuh-api. Note that configuration would be saved into some new .wazuh index. Once configured, you would have some live view of your setup, which agents are connected, what alerts you’re receiving, … eventually, set up new dashboards.

Comparing this to OSSEC PHP web interface, marked as deprecated since years, … Wazuh takes the lead!

CIS compliance

CIS compliance

OSSEC alerts

OSSEC alerts

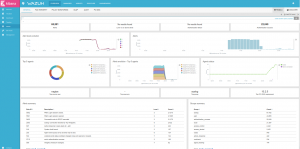
Wazuh Overview

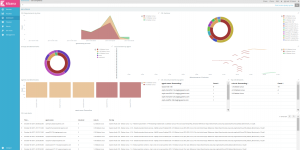
Wazuh Overview

PCI Compliance

PCI Compliance

Woozweb, Uptime Robot, StatusCake

Today, a post on a service that closed today, and investigating on potential replacements.

woozweb

woozweb

In the last few years, I worked for Smile, a french Open Source integrator. Among other things, Smile hosted Woozweb, a free service allowing you to define HTTP checks, firing mail notifications.

Since I left Smile, I’ve opened an account on Woozweb, and used it looking after public services I manage, checking them from outside my facilities.
Two days ago, I received a mail from some Smile’s manager, notifying me that Woozweb would be shut down on May 13th. As of writing these lines (around 4 am), the site is indeed closed.

Such sites may seem stupid, or incomplete. And sure, the service those provide is really limited.
Yet when your monitoring setup is located in the same vLAN, or some network connected to the service you are monitoring, you should keep in mind your view on this service is not necessarily what your remote users would experience with. Hence, third-party services could stumble upon failures your own setup won’t even suspect.

Now Woozweb wasn’t perfect. Outdated web interface, outdated nagios probes (that failed establishing ssl handshake against my tlsv1.1/tlsv1.2 only services), 10 checks limitation, never got a response from their support, … But it did the job, allowed string matches, graphed response times, used to warn me when those reached a threshold, …

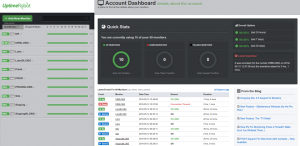
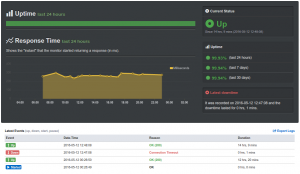
uptimeRobot

Uptime Robot dashboard

In the last couple days, I’ve been trying out alternatives to their service. There’s quite a lot of them, such as Pingdom. We’ll focus on free services, allowing https checks and triggering mail notifications.

The first I did test and could recommend is Uptime Robot.

Their interface is pretty nice and original. Service is free as long as you can stick to 50 checks with a 5 minutes interval, don’t need SMS notifications and can bear with 2 months of logs retention.

uptimeRobot

Uptime Robot check view

Defining checks is relatively easy, first results show up pretty quickly, no trouble checking tlsv1.1/tlsv1.2-only services. Already received an alert for a 1 minute outage, that my Icinga setup also warned me about.

Compared to Woozweb, the features are slightly better, whereas the web interface is definitely more pleasant. Yet there is no data regarding where those queries were issued from, and their paid plan page doesn’t mention geo-based checks – which is usually the kind of criteria we could look for, relying on such services.

StatusCake

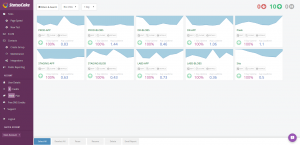
StatusCake dashboard

Not being completely satisfied, I looked for an other candidate and ended up trying out StatusCake.

Again, their site is pretty agreeable. Those used to CircleCI would recognize the navigation bar and support button. Free plan includes an unlimited amount of checks, as long as 5 minutes granularity is enough, and does involve running checks from random locations – whereas paid plans would allow you to pick from “60+” locations (according to their pricing page, while their site also tells about servers in over 30 countries and 100 locations around the world).

StatusCake

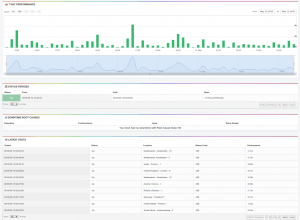
StatusCake check view

Defining checks is pretty easy. I liked the idea of being forced to define a contact group – which would allow you to change the list of recipient alerts should be send to, for several checks at once. Yet the feature that definitely convinced me with Slack integration.
So even if you do not want to pay for a plan including SMS notifications, you could receive notifications on your phone using Slack.
Everything’s not perfect though: string matches are only allowed using paid plans. This kind of feature is pretty basic, … On the bright side, status-code based filtering is nicely done.

The check view confirms your service is monitored from various locations. It is maybe a little less appealing than Uptime Robot, but the Slack integration beats everything.

Another big advantage StatusCake has is their “Public Reporting” capabilities. I’m not sure I would use it right now, as I already wrote a small shell-script based website, serving as public reporting dashboard, that I host outside of our production setup.

Bearing in mind these service won’t exempt you from setting up some in-depth and exhaustive monitoring of your resources, they still are a nice addition. Sexy dashboards definitely help – I wouldn’t have shown Woozweb screenshots, as their UI was amazingly despicable.
I’ll probably keep using both Uptime Robot and StatusCake.

Datadog

About a couple months ago, I started working for Peerio. I’ll probably make an other post introducing them better, as the product is pretty exciting, the client has been open sourced, mobile clients will be released soon, code is audited by Cure53
Point being, since then, I’m dealing with our hosting provider, pretty much auditing their work.

One problem we had was the monitoring setup. After a couple weeks asking, I finally got an explanation as for how they were monitoring service, and why they systematically missed service outages.
Discovering the “monitoring” provided was based on a PING check every 5 minutes, and a SNMP disk check: I reminded our provider that our contract specifically tells about an http check matching a string, and so far we had to do that check ourselves.

After a few days of reflection, our provider contacted us back, proposing to register our instances to datadog and setup monitoring from there.
My first reaction, discovering Datadog, is looks a little bit like graphite, collectd. To some extend, even munin. Although, Datadog meta tags tells about traps, monitoring, … Why not. Still, note that the free version only allows to register 5 hosts.

I’ll skip the part where our provider fails to configure our http check, and end up graphing the response time of our haproxy, regardless of the reponse code (200, 301, 502, nevermind, haproxy answers), while the http check on nginx fails (getting https://localhost/, with the certificate check option set to true). When replacing our production servers, I shut down the haproxy service from our former production instances, to realize datadog was complaining about failing to parse the plugin output before disabling the plugin on the corresponding hosts. Epic.
We are just about to get rid of them, for breach of contract. I already have my nagios (icinga2) based monitoring. But I’m still intrigued: a monitoring solution that may effectively distinguish failing instances from nodes being replaced in an AutoScale Group could be pretty interesting, hosting our service on AWS.

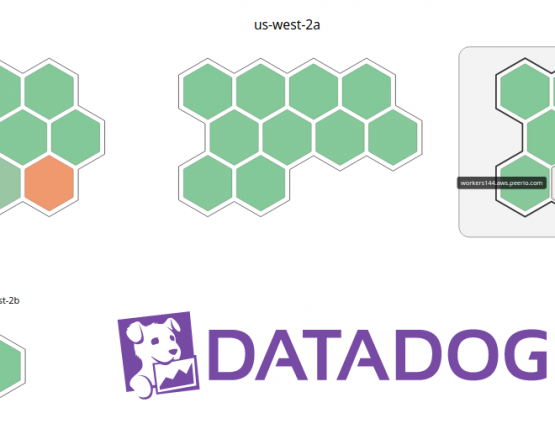
Datadog Infrastructure View

Datadog Infrastructure View

The first thing we could say about Datadog, is that it’s “easy” – and based on python.
Easy to install, easy to use, easy to configure checks, easy to make sense out of data. Pretty nice dashboards, in comparison to collectd or munin. I haven’t looked at their whole list of “integrations” yet (integration: module you enable from your dashboard, provided that your agents forward metrics this plugin may use generating graphs or sending alerts), though the ones activated so far are pretty much what we could hope for.

Let’s review a few of them, starting with the haproxy dashboard:

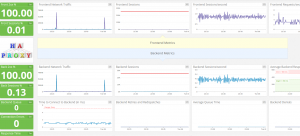
Datadog HAproxy dashboard

Datadog HAproxy dashboard

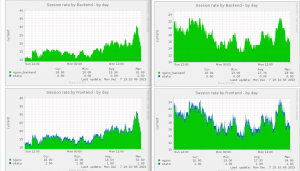
The only thing I’m not sure to understand yet, is how to look up the amount of current sessions, which is something relatively easy to set up using munin:

Munin haproxy sessions rate

Munin HAproxy sessions rate


Still, datadog metrics are relevant, the ‘2xx’ div is arguably more interesting than  some ‘error rate’ graph. And over all: these dashboards aggregate data for all your setup – unless configured otherwise. More comparable to collectd/graphite on that matter, than munin where I have to use separate tabs.

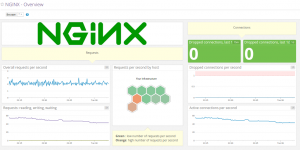
Datadog Nginx dashboard

Datadog Nginx dashboard

Datadog Nginx integration comes with two dashboards. We’ll only show one, the other one is less verbose, with pretty much the same data.

Again, I counting dropped connections instead of showing some “all-zeroes” graph is arguably more interesting, and definitely easier to read.

Datadog ElastiCache dashboard

Datadog ElastiCache dashboard

We won’t show them all. In our case, the Riak integration is pretty interesting as well. A few weeks ago, we were still using the Redis integration – since then, we moved to ElastiCache to avoid having to manage our cluster ourselves.

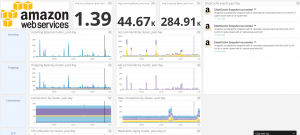
Datadog EC2 dashboard

Datadog EC2 dashboard

One of Datadog selling argument is that they are meant to deal with AWS. There’s a bunch of other plugins looking for ELB metrics, DynamoDB, ECS, RDS, … We won’t use most of them, though their EC2 plugin is interesting tracking overall resources usage.

In the end, I still haven’t answered my initial question: can datadog be used to alert us upon service failures. I have now two nagios servers, both sending SMS alerts, I’m not concerned about monitoring any more. Still it might be interesting to give it an other look later.

A downside I haven’t mentioned yet, is that your instances running Datadog agent need to connect to internet. Which may lead you to setting up HTTP proxies, with eventually some ELB or route53 internal records, to avoid adding a SPOF.
Or, as our provider did, attach public IPs to all their instances.

Although this problem might not affect you, as you may not need to install their agent at all. When using AWS, Datadog lists all your resources – depending on ACLs you may set in your IAM role. Installing their agent on your instances, the corresponding AWS metrics would be hidden from Datadog dashboard, superseded by those sent through your agent. Otherwise, you still have some insight on CPU consumption, disk and network usage, …
The main reason you could have to install an agent is to start collecting metrics for haproxy, riak or nginx, something AWS won’t know of.

Datadog is definitely modular. Pretty straight forward integration with AWS. Steep learning curve.
But paying for these is and having no alerts so far, while our hosting provider spent weeks setting it up, no alerts on output plugins failures either: I’m not completely convinced yet.
Still, I can’t argue their product is interesting, and especially relevant to monitoring or supervision neophytes.


Edit: a few days later, leaving our provider, we decided to abandon Datadog as well.

Granted that our former provider was contractually obliged to provide us with a monitoring solution, I was hoping for them to pay the bill – if any. They were the ones supposed to monitor our setup: whatever the solution, as long as they could make it work, I would have been fine with it.

Datadog cheapest paying plan starts at 15$/instance/month. Considering we have about 40 instances, throwing 600$/month for about a hundred graphs made no sense at all. Hosting our own nagios/munin on small instances is indubitably cheaper. Which makes me think the only thing you pay here, is the ease of use.
And at some point, our former provider probably realized this, as they contacted my manager when I started registering our DR setup to Datadog, inquiring on the necessity of looking after these instances.

As of today, we’re still missing everything that could justify the “monitoring” branding of Datadog, despite our provider attending a training on that matter, then spending a couple weeks with nothing much to show for it.
The only metrics munin was not graphing yet have been added to our riak memory probe.

Icinga2

Before talking about Icinga, we might need to introduce Nagios: a popular monitoring solution, released in 1999, which became a standard over the years. The core concept is pretty simple: alerting upon services failure, according to user-defined check commands, schedules, notification and escalation policies.

You’ll find Nagios clients on pretty much all systems – meaning Windows. You may use SNMP to check devices or receive SNMP traps. You may use passive or active checks. You’ll probably stumble upon NRPE, Nagios Remote Plugin Executor and/or NSCA, Nagios Service Check Acceptor.

You’ve got the idea: Nagios is pretty modular. Writing plugins is relatively easy. Monitoring your infrastructure is made relatively easy, and you may automate pretty much everything using puppet classes or ansible roles.
Still, around 2009, two forks appeard: Icinga and Shinken, released in march and december respectively.
It could be a coincidence, though it most likely was the result of several disputes opposing Nagios Core contributors and developpers to the project maintainer, Ethan Galstad.
We won’t feed that troll, you may find more data about that over here.

Anyway, in early 2009, Icinga came out. Quickly after, Shinken joined them.
Both products advertised you may migrate your whole monitoring infrastructure from Nagios, just by stopping nagios daemon and starting either Shinken or Icinga one, using pretty much the same configuration.

Icinga1.11

Icinga1.11 monitoring intra.unetresgrossebite.com

Icinga1.11

Icinga1.11 monitoring unetresgrossebite.com public services, as well as some of my customers services

So far, so good.
I’ve used Shinken once, a little less than a year. I wasn’t very much satisfied – too many workers, inducing some overhead, not really relevant for a small infrastructure like mine. It’s not really our topic. Meanwhile, I’ve been using Icinga for a couple years, I’ve installed tens of them, starting with version 1.7 to 1.9, working for Smile. All in all, I’m pretty satisfied. I’m still running a couple Icinga monitoring my own services, it’s nice, they have a web interface that does not require you to install some SGBD (for some reason, included in icinga-doc package on debian).

Icinga2

Icinga2 & Icingaweb2 monitoring aws.peerio.com

A while ago, Icinga released Icinga2. Sounded promising, until I realized they completely changed the way to configure their server, making my current templates and puppet classes useless.
Arguably, Icinga2 is not a nagios server anymore. Which is not necessarily a criticism.

This week, working on AWS for Peerio, I installed my first Icinga2 setup, writing ansible roles to automate NRPE servers configuration, Icinga2 configuration and probes registration to my nagios servers, SMS alerts using Twilio, mail alerts using sendgrid, using http proxies everywhere – no direct internet access, on AWS private instances.
There’s no public link to my gitlab, exceptionally, though I expect the repository to be opened to the public pretty soon on github.

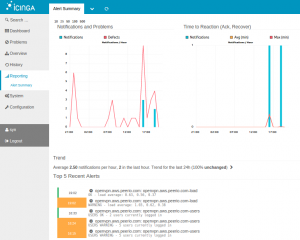
Icinga2 Alert Summary

Point being, I’ve finally seen what Icinga2 is worth, and it’s pretty satisfying.
Upgrading from your former nagios server will be relatively more complicated than migrating from Nagios to Icinga, or Nagios to Shinken. You’ll probably want to start from a fresh VM, starting from scratch.
Icinga2 configuration could look strange, especially after using nagios syntax for years, but it makes sense, and could drastically reduce the amount of configuration you’ll need.

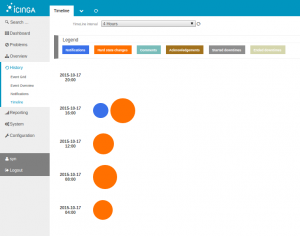
Icinga2 Timeline

Icinga2 Timeline

I’m a little less convinced by their new web interface, Icingaweb2. For their defense, I had to download the code on github, the RC1 was released a few months ago. No bug so far, maybe some CSS stuff to fix (currently, the “Add New Pane or Dashboard” button is too small, I can only read half of the text), still pretty impressive for something pulled from github with no official packaged release.
I’m missing the statusmaps. The report interface looks sexier than in the previous version, though I can’t find how to generate detailed reports.

Looking at their “Timeline” view, I don’t remember seeing anything like that on their previous version. Why not.

The project is still young, I guess it could still be in some todolist. At least, the features represented work perfectly, their interface is pretty nice, pretty dynamic, without being some over-bloated list of tables like I was used to dealing with Shinken, Icinga or Thruk.

OSSEC

Looking for jobs on Elance and UpWork, I stumbled upon this proposal, quoting a blog post about hardening security on a small network, according to PCI standards.
Having already heard of Snort, Auditd, mod_security and Splunk, I was quite curious about OSSEC.

OSSEC purpose is to keep an eye on your systems integrity, and raise alerts upon suspicious changes.
Arguably, it could be compared to Filetraq, though it’s intelligent enough to qualify as an IDS.

Installation process is pretty straight-forward. The main difficulty is to properly create a certificate  for ossec-authd, the register all your nodes, and don’t forget to shut ossec-authd down, once you’re done deploying agents.
Using Wazuh packages (debian and ubuntu only), almost everything is pre-configured. They’re not perfect, if you happend to install both ossec-hids and ossec-hids-agent, a few files would be defined twice, upon installing the second packages the first one would be partially removed, you’ll lose files such as /etc/init.d/ossec, preventing the last package to install properly, … You’ll have to purge both packages, purge /var/ossec from your filesystem and reinstall either ossec-hids or ossec-hids-agent.

Setting it up on my kibana server, I ended up writing a module dealing with both agent and master server setup, as well as installing ossec-webui from github.
Note: the module does not deal with installing the initial key to your main ossec instance. As explained in the module README, you would need to install it on /var/ossec/etc prior to starting ossec service.
Passed that step, puppet would deal with everything else, including agent registration to your main instance.
Also note ossec-webui is not the only web frontend to OSSEC. There’s also Analogi I haven’t tried yet. Mainly because I don’t want to install yet another MySQL.

During my first tests, I noticed a small bug, cutting communications from an agent to its master.
More details about this over here. Checking /var/ossec/logs/ossec.log, you would find the ID corresponding to your faulty node. Stopping OSSEC, removing /var/ossec/queue/rids/$your_id and starting OSSEC back should be enough.

An other problem that could occur, is nodes showing up inactive on the web manager, while the agent seems properly running. Your manager logs would contain something like:

ossec-agentd(pid): ERROR: Duplicated counter for 'fqdn'.
ossec-agentd(pid): WARN: Problem receiving message from 10.42.X.X

When you would have identified something like this, you may then run /var/ossec/bin/manage_agents on your manager, and drop the existing key for incriminated agents. Then connect to your agents, drop /var/ossec/queues/rids/ content, stop ossec service, create a new key with /var/ossec/bin/agent-auth and restart ossec.

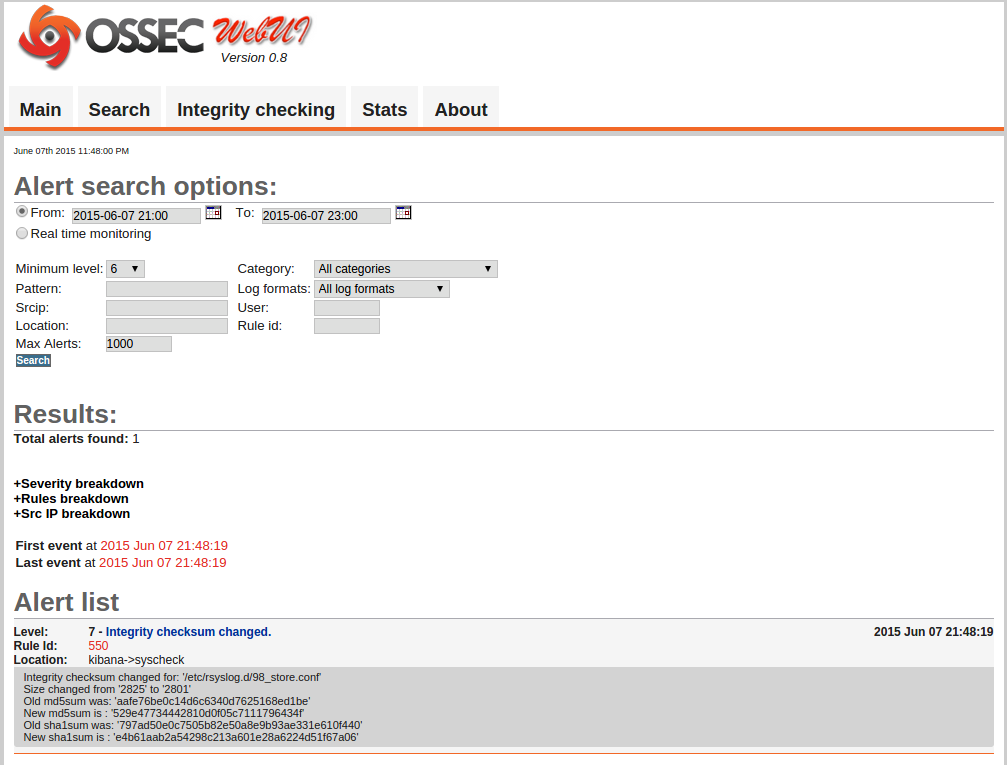
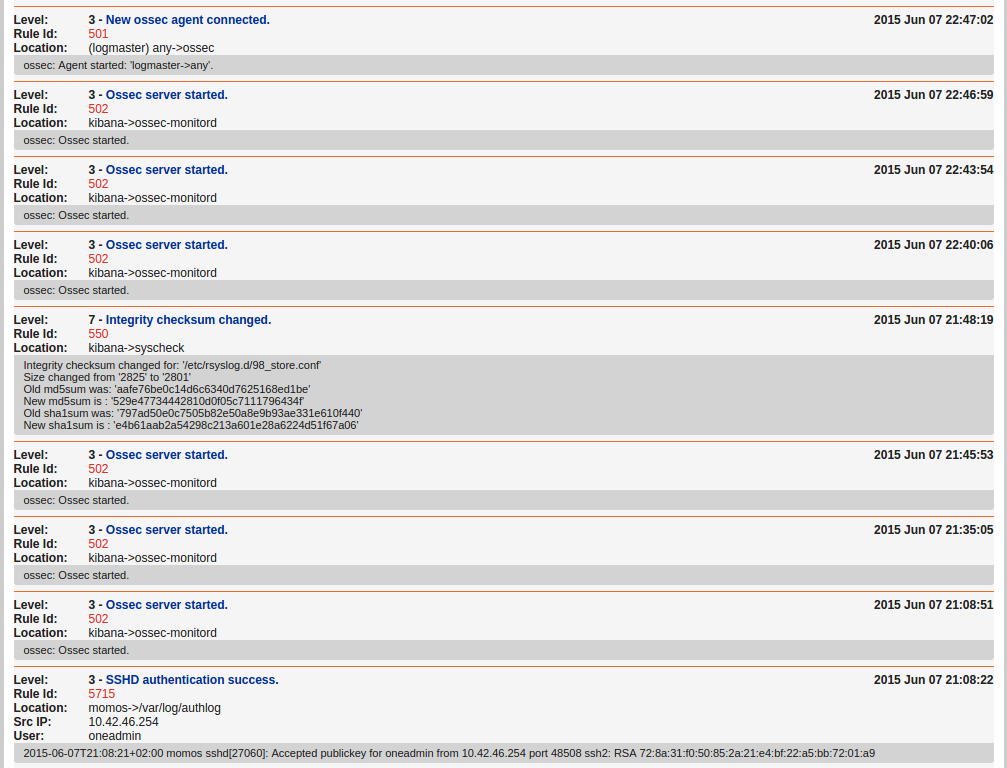
OSSEC

OSSEC Logs view

Stay tuned for my next commits, as I would be adding FreeBSD support, as soon as I would have build the corresponding package on my RPI.